Customizing instance deployment with Cloud-init
Deploying an instance in the cloud based on a generic system image will often give you a very bare-bones installation, requiring local modifications before it is usable.
In this tutorial we will look at customizing deployments using Cloud-init, the defacto multi-distribution package that handles early initialization of a cloud instance.
It should be included in most cloud-ready linux system images. Cloudbase Solutions have made an implementation for Windows.
To further expand on your cloud-init configuration, refer to this overview of options.
Injecting userdata into your instance
The Openstack Metadata service will store your userdata and make them available for your instance at launch from a web service.
Please note that you can not edit the userdata for the instance after the initial launch.
From the Dashboard
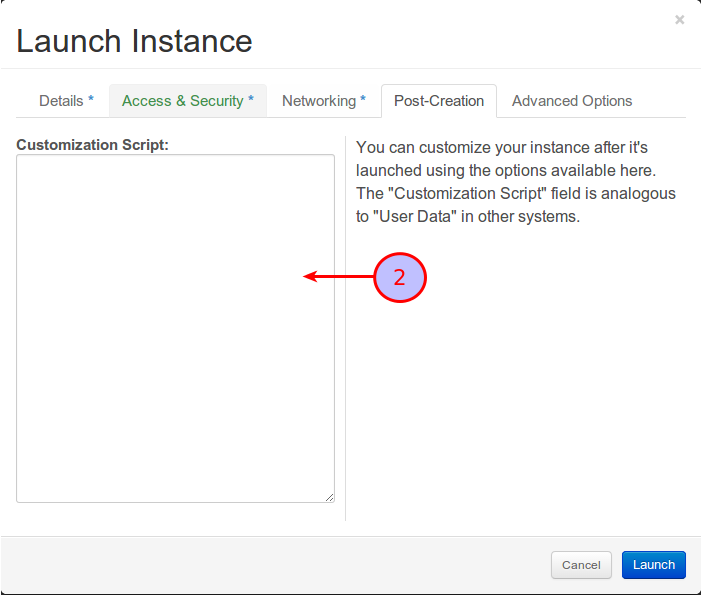
To inject userdata from the Openstack Dashboard, go to the "Launch Instance" window and click the "Post-Creation" tab.
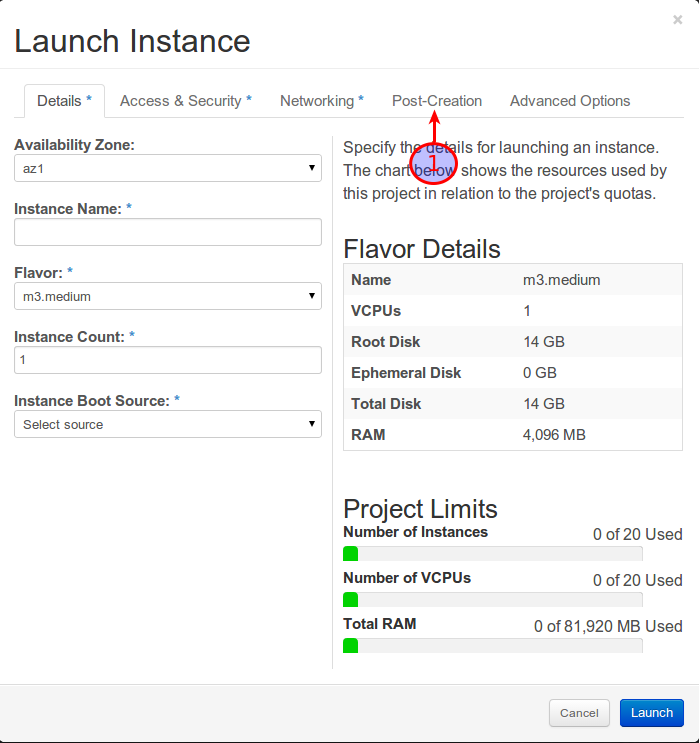
You can now paste your userdata into the "Customization Script" text area.
From the Openstack Client
Use the --user-data option when creating your instance. Example:
openstack server create --flavor m3.medium --image d0a89aa8-9644-408d-a023-4dcc1148ca01 --user-data ~/server01.example.com-userdata.txt --key-name My_Key "server01.example.com"
Simple configuration using cloud-config
The easiest way to customize your instance is to create a valid configuration file in YAML that will be parsed by cloud-init during launch.
The first line of the configuration file must start with:
#cloud-config
Be sure that the configuration file is in a valid YAML syntax. You can check this using an online YAML validator or local tools.
First we want to disable the default cloud-init user, and create our own.
We also want to install our public SSH key, and set a password for the user so that we can have password authentication for "sudo".
users:
  - name: baffle
    gecos: Dag Stenstad
    shell: /bin/bash
    lock-passwd: false
    sudo: ALL=(ALL) ALL
    passwd: $6$fakepassword$TJ3Z7gk7z.DUSGRvCYTuBLJYYDUvApTdK0DxmYV0exnOpadcL/jCChjbBnOoUm6OeU6oBXC55UAoWW5dG/rQD.
    ssh-authorized-keys:
      - ssh-dss  AAAAB3NzaC1kc3MAAACBAIcAsIg3VXaz2kvG+yuM9Iy2A8eHNW3rI5DApPKT0jRNVi5Brt6gnaJf5z1cJd4adun9tMMCEQqwrf+9L/8Pk/N5QwnXj8rKLHLQCPa1fh3WsdPVhS8xOImlbvP2rM/tQCvMm++WoZbv50v39A+7yRgZy2IGO8VtJ+4jjYYgCmKPAAAAFQDwWhJpMiAxUqhnhrWNtIYxYUxrLQAAAIB1vMFx9CrUxoAw/DVAKJpgq/mfcUVj67W35aRmN33tynADfAvEKOPkP0uWOAK61/CxV7TmcgBKnJr843ZHpoDrkLrBL5ifkCLWsvsdw+ECNhqXzacHRuQekFS1Z3t7NuPcz67kpaEiZGFw3MreRedjrmukIy+H9tpr3KnZ6fyW1QAAAIA9N2rw++CinGJvjvGrIZe2SZMtJBRb0fAXzHqpPqNuNs/Q2P72hcvfBgkYu+vrghuIYJs3GIxVVbIW3d2WZwgZwbYuJqdn5VcPjEYEz/Gq9A3gBvIcJKbNwrlbbbOe1VRLnKM3o6EoHmke0Y2oDHQI+ADAWcyubt7W581G8kwnRg== baffle@deathstar
We also want to...
- ... install a few packages we're used to having available.
- ... ensure that all updates are installed, and reboot the instance if needed.
- ... add the SaltStack PPA.
packages:
  - byobu
  - tshark
  - python-software-properties
  - vim
  - salt-minion
package_upgrade: true
package_reboot_if_required: true
apt_mirror: http://no.archive.ubuntu.com/ubuntu/
apt_sources:
  - source: "ppa:saltstack/salt"
We also want to add the FQDN and hostname to our /etc/hosts file.
manage_etc_hosts: true
And add set the correct timezone:
timezone: Europe/Oslo
This results in the following configuration wich we will save to a local file, "~/userdata.txt"
#cloud-config
users:
  - name: baffle
    gecos: Dag Stenstad
    shell: /bin/bash
    lock-passwd: false
    sudo: ALL=(ALL) ALL
    passwd: $6$fakepassword$TJ3Z7gk7z.DUSGRvCYTuBLJYYDUvApTdK0DxmYV0exnOpadcL/jCChjbBnOoUm6OeU6oBXC55UAoWW5dG/rQD.
    ssh-authorized-keys:
      - ssh-dss  AAAAB3NzaC1kc3MAAACBAIcAsIg3VXaz2kvG+yuM9Iy2A8eHNW3rI5DApPKT0jRNVi5Brt6gnaJf5z1cJd4adun9tMMCEQqwrf+9L/8Pk/N5QwnXj8rKLHLQCPa1fh3WsdPVhS8xOImlbvP2rM/tQCvMm++WoZbv50v39A+7yRgZy2IGO8VtJ+4jjYYgCmKPAAAAFQDwWhJpMiAxUqhnhrWNtIYxYUxrLQAAAIB1vMFx9CrUxoAw/DVAKJpgq/mfcUVj67W35aRmN33tynADfAvEKOPkP0uWOAK61/CxV7TmcgBKnJr843ZHpoDrkLrBL5ifkCLWsvsdw+ECNhqXzacHRuQekFS1Z3t7NuPcz67kpaEiZGFw3MreRedjrmukIy+H9tpr3KnZ6fyW1QAAAIA9N2rw++CinGJvjvGrIZe2SZMtJBRb0fAXzHqpPqNuNs/Q2P72hcvfBgkYu+vrghuIYJs3GIxVVbIW3d2WZwgZwbYuJqdn5VcPjEYEz/Gq9A3gBvIcJKbNwrlbbbOe1VRLnKM3o6EoHmke0Y2oDHQI+ADAWcyubt7W581G8kwnRg== baffle@deathstar
packages:
  - byobu
  - tshark
  - python-software-properties
  - vim
  - salt-minion
package_upgrade: true
package_reboot_if_required: true
apt_mirror: http://no.archive.ubuntu.com/ubuntu/
apt_sources:
  - source: "ppa:saltstack/salt"
manage_etc_hosts: true
timezone: Europe/Oslo
The file is now ready to be included into our instance! We'll launch it directly from the CLI:
openstack server create --flavor m3.medium --image d0a89aa8-9644-408d-a023-4dcc1148ca01 --user-data ~/userdata.txt "testserver01"
While the instance configures, we can look at the progress by viewing the logfile:
openstack console log show --lines 40 testserver.zetta.io
After a while, we will see a message indicating that the server is now fully deployed:
Cloud-init v. 0.7.5 finished at Fri, 01 Aug 2014 14:43:55 +0000. Datasource DataSourceOpenStack [net,ver=2]. Up 14.90 seconds
The server is up and running, the user(s) are created and packages installed. Job well done!